
How to wrap a present: a step-by-step guide with pictures!

In theory, we all know how to wrap a present. You get some wrapping paper, fold it around a box, tape the paper—in like, places—and then it’s done. It’s a present.
The problem is that having a theory about how something is done and actually doing that thing (and doing it well) are very different.
So if you’ve never wrapped a present or you have wrapped a present and been thoroughly underwhelmed by the results, this article is for you. We’re going through the process of how to wrap a present step-by-step, with pictures and details that will help you on your way to becoming a present-wrapping pro!
Inspired? Create and share by tagging @hallmarkstores.
Step 1: Gather your materials

Just like any project, having everything you need within easy reach is key when it comes to how to wrap a present.
You’ll need:
- a box to put your gift in
- wrapping paper
- scissors
- tape
- some ribbon or a bow (optional but highly recommended)
Step 2: Determine your width

Roll out your wrapping paper and place the box you’re wrapping on top of the reverse/blank side. Ideally, the width of the piece you cut will reach just 2/3 up each side of the box.
Tip: Making crisp creases and folds at the ends will be so much easier if you’re not wrestling with excess wrapping paper.
Step 3: Cut the width of your wrapping paper

Once you’ve double-checked to make sure you’ve got an equal amount of paper extending out on both sides, use a pair of scissors to cut your width.
Tip: Cutting the width now will save you from having to cut off excess later, which usually ends up jagged and a little sloppy looking. (Not speaking from experience or anything. 😬) It’s super helpful if it’s wrapping paper with a grid on the back to help you measure! All Hallmark gift wrap has this handy-dandy grid on the back.
Step 4: Measure and cut the length of your wrapping paper

After you’ve cut for width, measure out a length that’s long enough to go around all four sides, plus a couple inches for overlap. Note where this is, then slide the box back a bit to allow yourself room to cut as shown.
Tip: Measuring also helps you avoid waste, making that roll of wrapping paper last!
Step 5: Place your box carefully

Place your box with the top facing down at the center of the width of your paper and near the top of the length of your wrapping paper. If your wrapping paper has a grid on the reverse side, use it to help align the box.
Tip: Strategically placing the box ensures an even amount of overlap on all sides. This helps make sure you don’t have any uncovered areas!
Step 6: Do a “test fold”

Fold the bottom length of the wrap up to the top edge of the box. If it meets that edge, and you’ve got that top length to provide you with overlap, you’re golden. ✨
Tip: Double-checking where you want to fold your wrapping paper before creasing or taping it ensures a neater wrap. It’s also helpful if you’re the sort of person who’s very particular about patterns matching up.
Step 7: Fold down and tape the top length

Fold the top length of the wrapping paper over the top edge of the present and secure with one strip of tape. The paper should only cover an inch or two of the box.
Tip: Taping the first edge down keeps the paper from sliding around and making your wrapping turn out crooked. It’s also easiest to fold up the lengths before worrying about any creasing on the widths or sides of the box.
Step 8: Fold up and tape the bottom length

Bring the remaining bottom length of wrapping paper—the part you did your “test fold” with—up and over the box, overlapping the length you taped down in Step 7. Tape it down along the edge.
Tip: Taping the paper at the edge of the box, rather than in the center, makes any misalignments in the wrapping paper design (florals, characters, repeating patterns) less noticeable. If you’re worried about the design not matching up, opt for solid-colored gift wrap or gift wrap with a busy, irregular pattern that will disguise any crooked seams!
Step 9: Crease at the sides

Fold down the top flap of paper that extends beyond the side of the box. Crease it where it meets the corner to make a triangle-like shape, first at the top, then at the bottom.
Step 10: Fold the creases in

Once again, use the corners of the box as a guide and fold the initial creased flaps you made inward, toward the center of the box.
Step 11: Fold the flap up and tape

Just like it sounds, easy-peasy. 😊
Step 12: Repeat creases on the other side

You’re basically a pro at this now. 😏
Step 13: Crease all the way around

Using your forefinger and thumb, crease along the corners of the box at the top, bottom and sides. This removes any remaining “puffiness” in the paper and gives your present a nice, clean look.
Step 14: Add a bow and a card!

Tie some ribbon around your gift, slip a card underneath the ribbon and you’re done!
There you go! Now that you’ve gone through this step-by-step guide on how to wrap a present you have all the secrets to getting a perfectly wrapped gift box. But that’s just the start! We can get wayyyyyy fancier if you wanna. 🤩
Check out these fun ways to get your gift-wrapping status to legendary:
Shop Gift Wrap
See allYou may also like
See more-
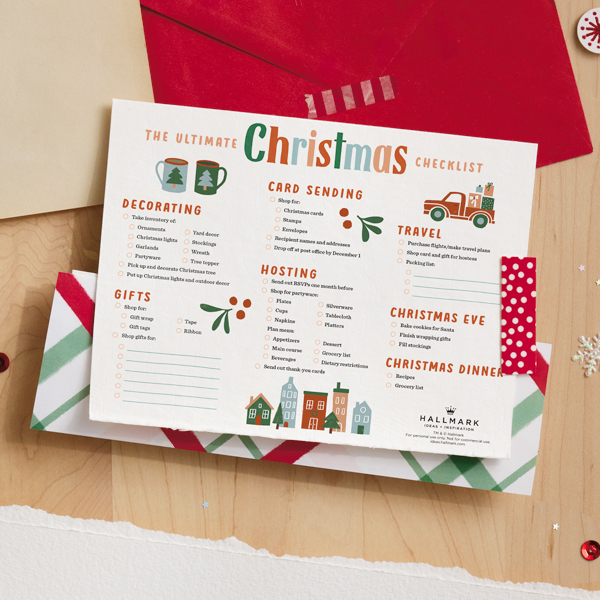
Christmas The ultimate Christmas to-do list to help you get a jump on holiday planning
For some of us, the Christmas spirit is a year-round lifestyle. Whether it’s decorating the tree with pretty lights ...
-
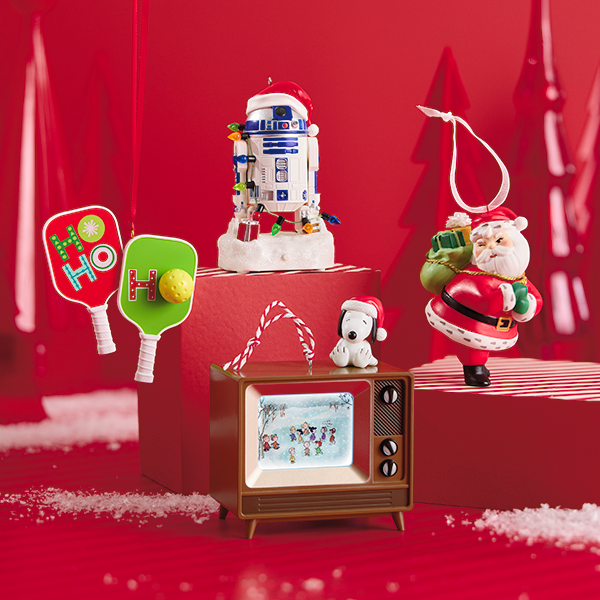
Christmas More than decoration: How Christmas ornaments become memory keepers
There are things in life that turn memories into something tangible you can touch: photos, handwritten notes, recordi...
-
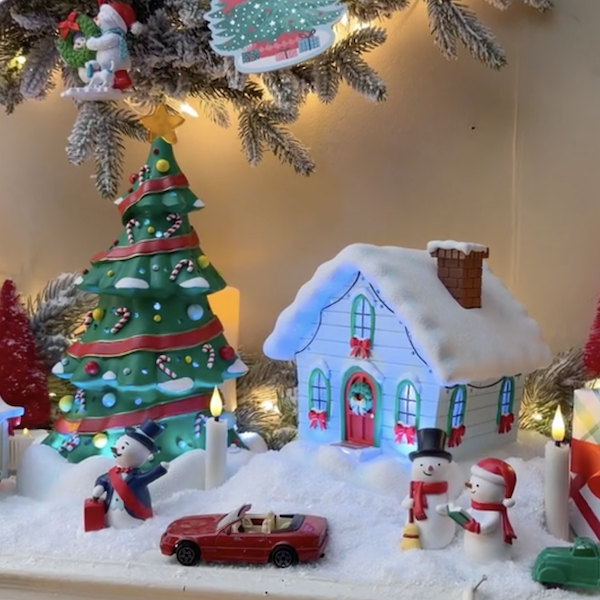
Christmas Create miniature magic with the Snowman Village collection!
Our new Snowman Village collection is just waiting to become your family's new favorite Christmas tradition. With new...
-
Mahogany A love letter for Black Thanksgiving
It just dawned on me that we’re the new aunties. I don’t know when this happened because, in my mind, I’m still one...
-
DaySpring The only identity that never fails me
From late March to October, I filter my life through the lens of Major League Baseball, Braves baseball in particular...
-

Christmas DIY Christmas card display ideas
Okay, we’ll admit that if anyone is going to biased in their thinking when it comes to keeping and displaying Christm...
-

Keepsake Ornaments You love Keepsake Ornaments…we love rewarding you! 🥳
Collecting Keepsake Ornaments isn't just a hobby for you—it's a passion! And that kind of enthusiasm is something we ...
-
Christmas The ultimate gift guide for millennials who still quote their favorite Christmas movies
Christmas movie nights are one of my favorite parts of the holiday season. Partly because of the popcorn (it’s basica...
-

DaySpring Nurture your heart to live and believe with joy
Scripture offers us many reminders of the amazing gifts the Lord provides. Complete and reassuring, Paul’s descriptio...
-

Mahogany Savoring fall before the holidays arrive
This season, I’m heading to New England for the first time…specifically Rhode Island, Massachusetts, New Hampshire an...
-

Christmas Keeping Christ at the center of Christmas: Meaningful ways to celebrate Jesus this holiday season
Christmas is a favorite holiday for many of us. The excitement of the first snowfall, Christmas lights and carols, ho...
-
Christmas Comfort in making: Christmas DIY ideas to help you slow down and create meaning this season
There’s just something about the Christmas season—that time of year when everyone becomes decidedly and delightfully ...
-

DaySpring Meet the DaySpring contributors
The DaySpring Writing Community is where women of different ages, life stages, cultural backgrounds and church tradit...
-

Christmas 20+ ideas to help you plan your trip to the Hallmark Christmas Experience
Ever wanted to step inside of a picture-perfect Hallmark Christmas movie? Or travel to a place where you could immers...
-

DaySpring He loves us still
When I received news that our women’s Bible study group at church was going to study the book of Hosea, my spirit sun...
-

Mahogany Carrying memories of homecoming...and how to create new ones
My parents found an old photo of me on the homecoming court at Xavier University. Miss P1, elected to represent my fi...
-
Gifting Why Peanuts still feels like Christmas
When it comes to holiday nostalgia and Christmas comfort traditions, it’s hard to top A Charlie Brown Christmas. At t...
-

Calendar Flip Woo-Hoo—summer’s here! June 2027 holidays and celebrations
Summer is here in all her glory and we are ready. Warm days and cool drinks lay ahead. So it’s time to flip the ca...
-

Calendar Flip Spring Forward: March 2027 Holidays and Observances
Color us excited! From the wearin’ of the green and more sunny fun to colorful Holi festivals and celebrating crayons...
-

Calendar Flip Yay for May! May 2027 holidays and celebrations
Flowers are blooming, students are graduating and moms are getting some well-deserved appreciation. What a fabulou...
