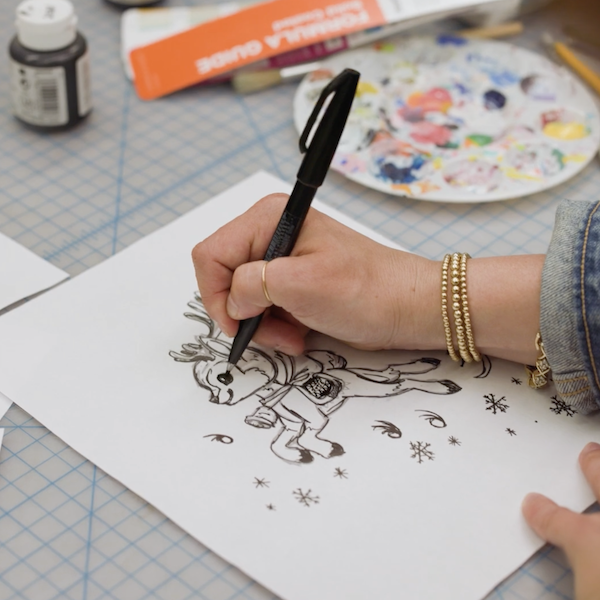
Holiday Mail Art: 5 Ways to Decorate Christmas Card Envelopes
Holiday mail art is the best: A beautifully decorated Christmas card envelope is a gift. But a long card list might make addressing your envelopes seem like a daunting task instead of a glorious way to spend the evening. So we asked Hallmark artists to come up with easy ways to create hand-lettered envelopes that won’t take you all season long.
Here are five different gorgeous, easy ways to make everyone on your list feel like your very favorite person. And we’ve added bonus tips—the easiest way to add an envelope liner and some DIY confetti ideas.
Inspired? Create and share by tagging @HallmarkStores.
Holiday Mail Art with DIY Stamps

Supplies for making stamps
- Craft foam sheet
- Scrap pieces of cardboard
- Scissors
- Glue
- Crayola brush markers
- Archival ink pad in two colors (or ink brayer and paint)
- Scrap paper or butcher paper (to protect your work surface)

How to stamp envelopes
- Cut simple shapes from the craft foam—try stars or starbursts, circles or blocks.
- Glue the foam shape onto a slightly larger scrap of cardboard.
- Press your stamp onto the ink pad (or use a brayer to apply paint). Practice pressing the stamps on a scrap sheet of paper to get the right amount of pressure and to try different designs.
- Open and flatten the envelope and stamp your designs. Make sure to leave room for the recipient’s name and address on the front and your own return address in the upper left or on the back.
- Let your envelopes dry completely before you address them.
Cut Paper Christmas Mail Art

Supplies for cut paper designs
- Scraps of colored paper or leftover gift wrap
- Scissors
- Glue stick
- Crayola brush markers
- Crayola metallic markers or paint markers
- White paint marker or Crayola silver glitter marker
- White gel pen

How to make cut paper envelope designs
- Cut a super-simple shape from the paper. We made different ornament shapes and trees and tried a few first initials.
- Lay your cut paper out on the envelope to figure out your design.
- If you’re going to write or draw on the paper, do that before you glue it down—that way if you mess up, you don’t ruin the envelope.
- Use the white paint or silver glitter marker to draw simple designs—branches, stars, garland strings—on your envelope.
- Glue down your cut paper then add the address. Don’t forget to put your return address in the upper left or on the back flap.
Hand-Painted Holiday Mail Art

Supplies for hand-painted envelopes
- Crayola acrylic paint (we are big believers in a limited color palette—choose 3 colors and use white paint to make lighter shades)
- Paintbrush
- Artist masking tape (“low-tack” means it’s less sticky and won’t rip paper)
- Scissors
- Crayola brush markers
- Scrap card stock or paper

How to make hand-painted mail art
To leave the perfect space for an address:
- Cut a square or rectangle from your scrap piece big enough to write the address. Use the masking tape to stick it to the envelope.
- Paint swatches of color on the envelope—try abstract shapes, swashes or blocks of color, squiggles and lines and dots.
- If you’re going to layer colors, make sure you let one dry before adding another.
- When it’s all completely dry, pull off the tape and paper scrap and add the address.
- With the right pen, you can write the address on a dry swash of color.
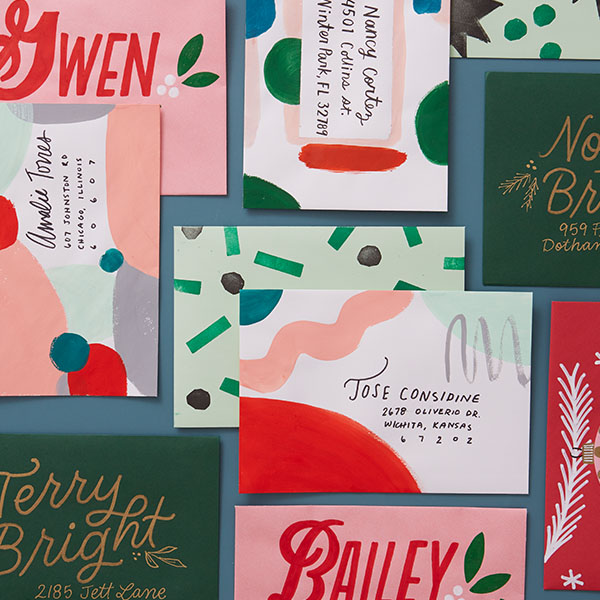
Bold Lettered Envelope Art

Supplies for hand-lettered envelopes
- Crayola Gold Metallic paint markers with bullet-shaped tips—not chiseled or angled—to make lines with a consistent weight (that’s called monoline lettering) or Metallic Markers
- Crayola Signature Metallic Outline Paint Markers & Project Glitter Markers or paint markers in white, red and green (or another fun, limited color palette)
- Pencil

How to create envelopes with bold lettering
- Before you start, lightly sketch out the name and address—and maybe any other designs you want to add. It’s easy to draw pine and holly branches and berries, stars and diamonds, accent marks and simple doves.
- Make the name the star—go big and bold, but don’t forget to leave room for the address. (Unless you’re hand-delivering a card! Then the name can be super huge.)
- Let each color dry before adding the next.
Easy Painted Envelope Backgrounds

Supplies for painted backgrounds
- Crayola Brush Markers or acrylic paint and brushes
- Crayola permanent markers (for addressing)
- Scrap paper

How to paint backgrounds to make addresses stand out
- Play around with techniques and designs—like translucent washes or snowy circles—on scrap paper or extra envelopes. Test the markers you’ll use for addresses on your backgrounds once they dry.
- Slide a piece of paper into your envelope before you paint to prevent bleed-through.
- Paint designs on your envelopes and let them dry.
- Once you’re absolutely positively certain they’re dry, add the addresses with permanent markers.
Bonus Tip: Wrapping Paper Envelope Liners

Supplies for wrapping paper envelope liners
- Envelopes
- Wrapping paper
- Ruler
- Scissors or craft knife
- Glue stick
- Optional: Chipboard (cereal boxes are perfect) or poster board for templates

How to add envelope liners
If you’re just doing a few liners, follow the directions below. If you decide to make a whole bunch, make a template using chipboard or poster board (first three steps). Then trace the template onto the wrapping paper and follow the last two steps.
- Open the flap of an envelope and lay it open and flat on the reverse side of a piece of wrapping paper.
- Trace the envelope shape onto the wrapping paper and cut it out.
- Cut a sliver (1/8″ or less) off each side and about 1/2″ off the bottom.
- Slip the liner into the envelope, design up, and close the envelope, creasing the liner.
- Open the envelope and glue the liner in place.
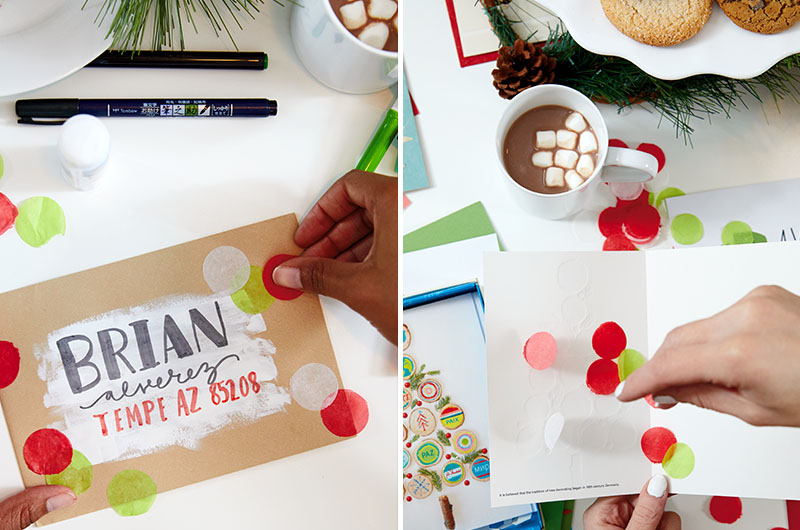
Another Bonus Tip: Christmas Card-fetti
What’s a Christmas card party without confetti? We much prefer the giant kind, cut with paper punches from tissue paper. (Find the easiest DIY tips here.) Sprinkle a few pieces inside a card or use a glue stick to decorate the envelope. Circles are classic and perfect…but snowflakes or trees or other holiday icons would also be pretty great, too.
NOTE: All envelopes shown are decorated with made-up names and addresses so we don’t violate anyone’s privacy.
Shop Christmas
See allYou may also like
See more-

Christmas For Millennials only 📀🛼
Saturday morning cartoons. Digital pets. Iconic snack foods. Oh, what it was like to be a Millennial kid. If you're f...
-
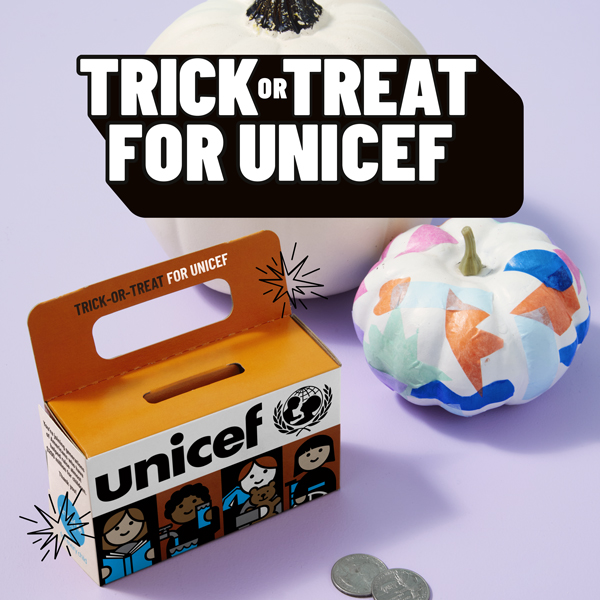
Halloween Trick-or-Treat for UNICEF: Add some meaning to your Halloweening
Rattling bones. Screeching bats. Wicked witches wearing hats. Halloween offers kids no end of thrills. Costumes, c...
-
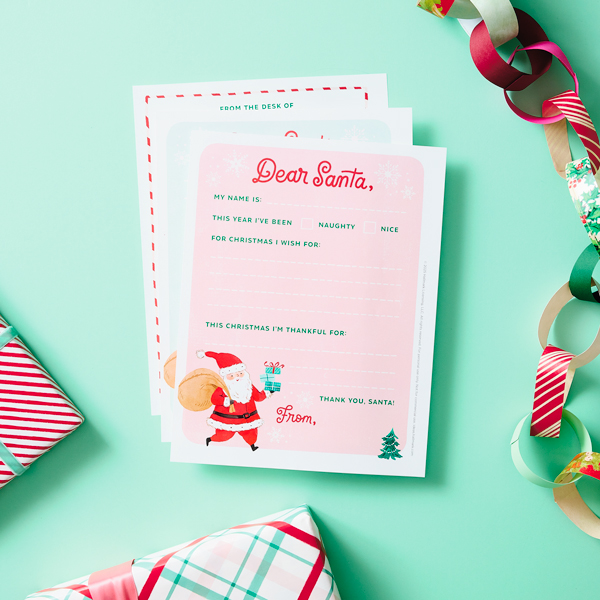
Christmas How to write a letter to Santa: ideas and free printables
Christmas is swiftly approaching as little ones anticipate the most wonderful time of year. They know that the naught...
-
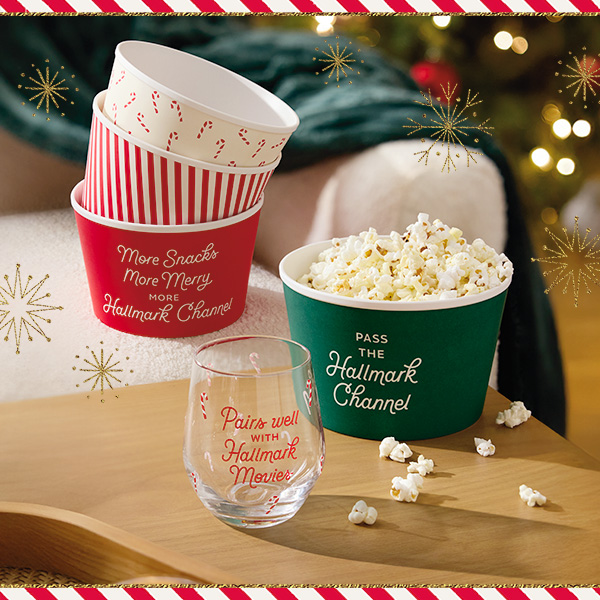
Christmas 25+ ideas to take Christmas movie nights to the next level
Christmas movie nights are one of my favorite parts of the holiday season. Partly because of the popcorn (it’s basica...
-
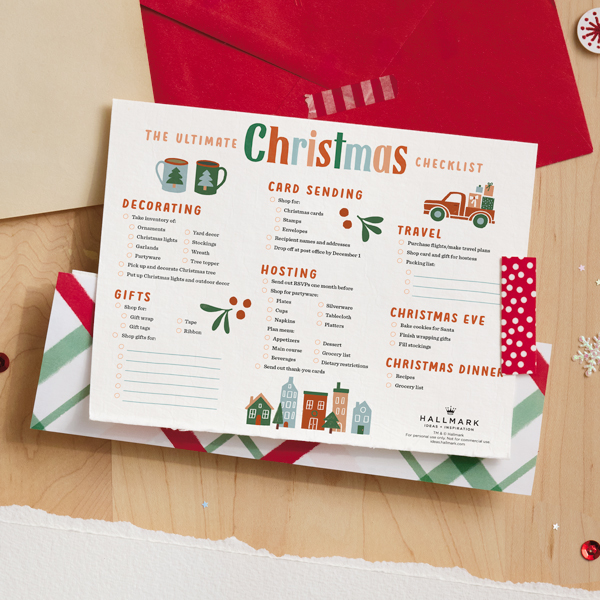
Christmas The ultimate Christmas to-do list to help you get a jump on holiday planning
For some of us, the Christmas spirit is a year-round lifestyle. Whether it’s decorating the tree with pretty lights ...
-
Halloween Who says trees are only for Christmas? 🎃
If you've been thinking about starting the tradition of a creepy tree for Halloween, we have a few Keepsake Ornaments...
-
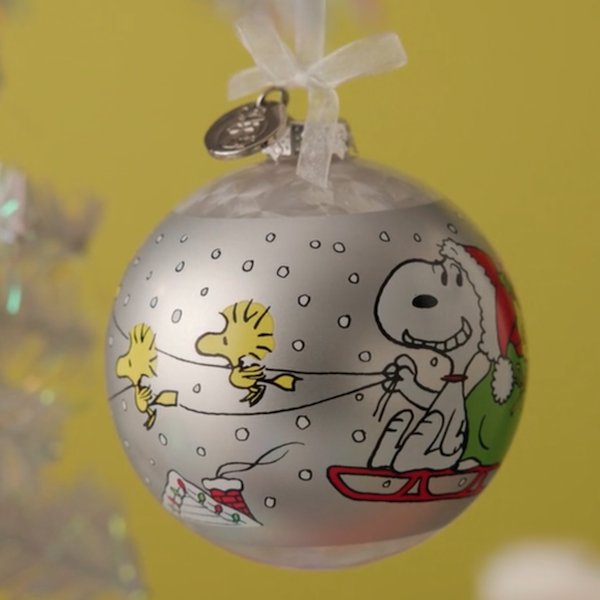
Christmas This season, celebrating with the Peanuts® Gang is a little extra special!
Peanuts® has been a part of our lives for 75 years now, can you believe it? And we can't think of a better way to cel...
-
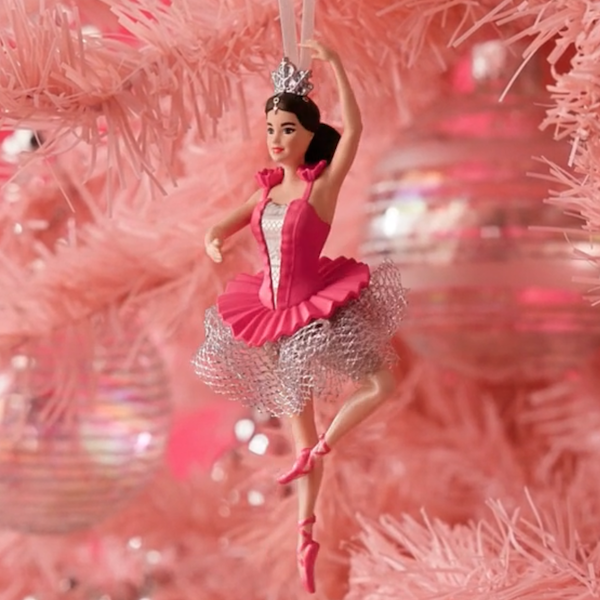
Christmas For a fabulous Christmas tree, it has to be Barbie™ 💅✨
Barbie™ has captured our imagination and been a style icon for decades...so it's a given that she belongs on our Chri...
-
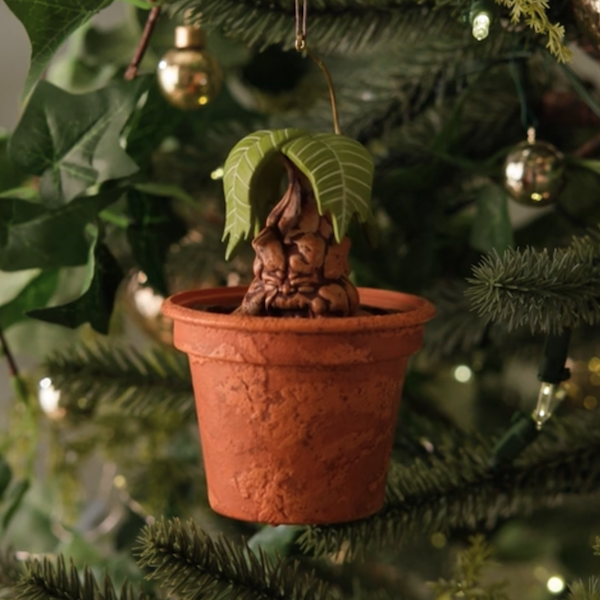
Christmas No earmuffs required with this Harry Potter™ Mandrake™ ornament
Your favorite plant from the Hogwarts Herbology class is now a Keepsake Ornament! Just pull the Harry Potter™ Mandrak...
-
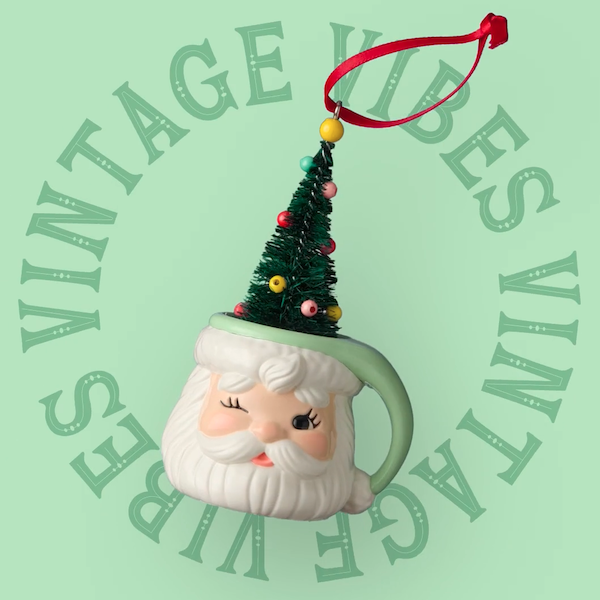
Christmas More incredible Keepsake Ornaments are waiting!
Description Get ready—the rest of our 2025 Keepsake Ornament lineup is headed your way, with more than 150 brand new ...
-
Halloween 7 Halloween tree ideas with so much style, it’s scary
Look out behind you! Halloween is hot on your heels and the yard decorations out there are blowing up. Some folks are...
-
Halloween Halloween boo bag ideas for your entire boo crew
Costumes, candy and treats? Must be Halloween time! And whether you look forward to the door-to-door of it all, love ...
-
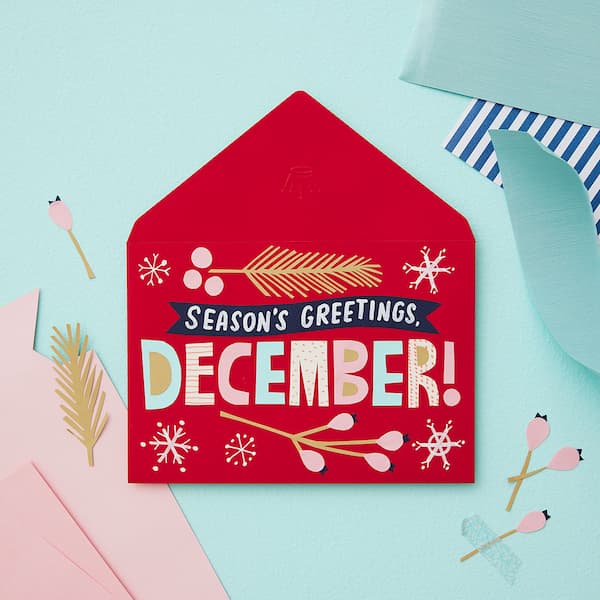
Calendar Flip Share More Moments: December 2025 Holidays and Observances
Whichever holidays you celebrate, whatever your traditions and whoever you call family, December is a month full of m...
-
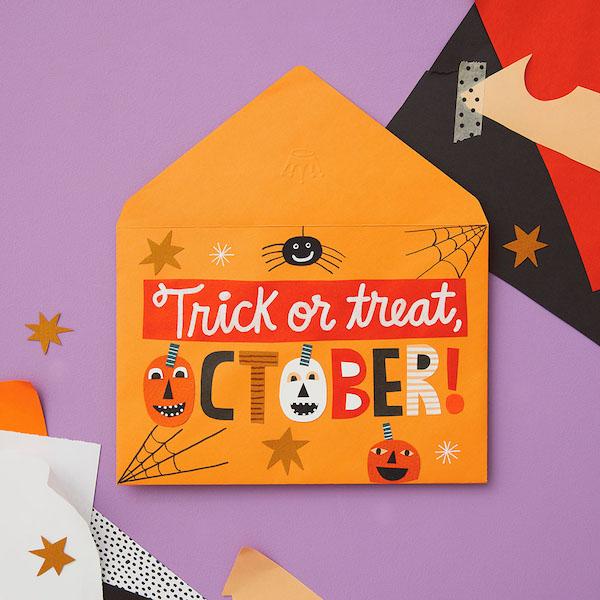
Calendar Flip Hey, Pumpkin! October 2025 Holidays and Observances
Get info, ideas and inspiration for October holidays and observances, including free sharable quotes and digital wall...
-
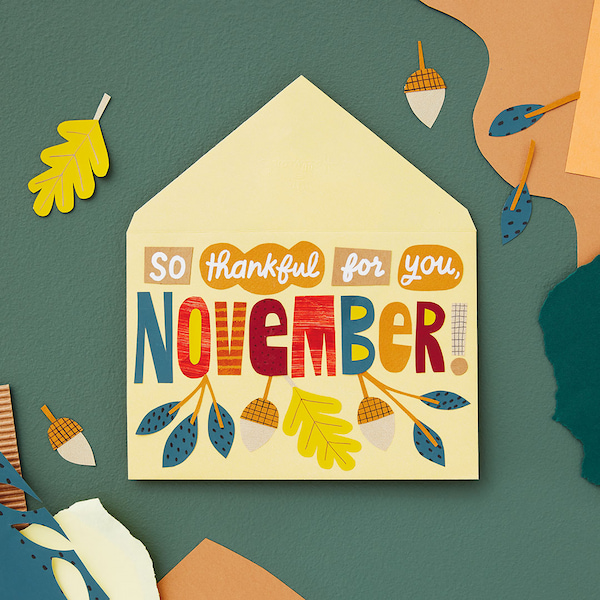
Calendar Flip Share joy, give thanks: November 2025 Holidays and Observances
Get info, ideas and inspiration for November holidays and observances, plus free sharable desktop and smartphone wall...
-
Christmas Meet Dasher, First in the Eight Tiny Reindeer Keepsake Ornament Series!
It's official: It just doesn't get any cuter than this. The big eyes. The tiny hooves. The adorable blanket stitched ...
-
Christmas Join us for KOC Day at the 2025 Hallmark Christmas Experience!
Experience the joy of exclusive ornament signings, insider access and more holiday magic at this members-only celebra...
-
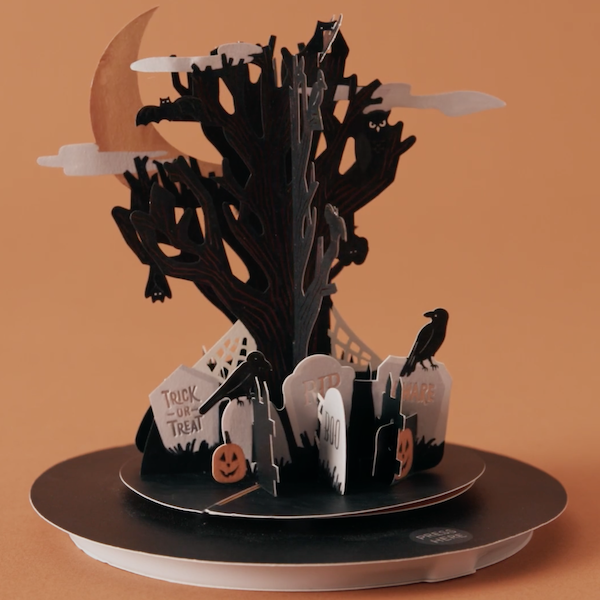
Halloween Frighteningly fun Halloween greetings have arrived!
This Halloween, take friends or family for a spin through a creepy graveyard with this 3D pop-up card. With music and...
-
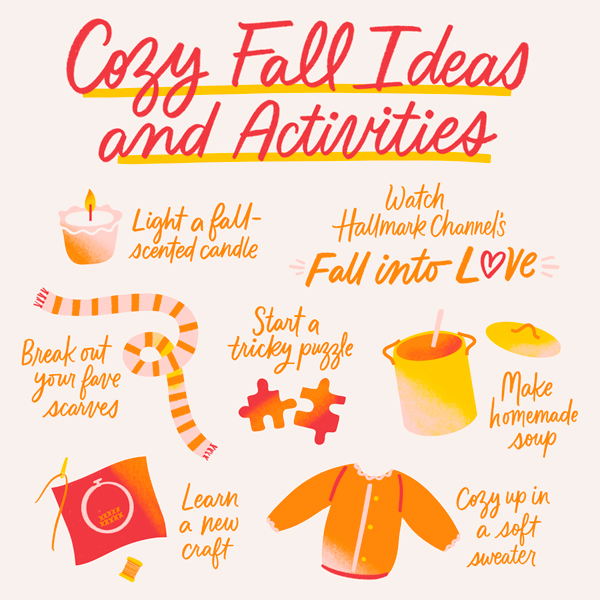
Fall Lean into the season: Cozy fall ideas and activities
When fall comes around—bringing chillier days and earlier nights—the instinct to nest and rest kicks in hard and lots...
-
Halloween Throw the Ultimate Disney Hocus Pocus Halloween Party
As kids, my cousin and I stayed looking for a quick scare. We could be found standing in a dark bathroom reciting the...