
We're sorry
There was an error adding this product to your cart. Please close this window and try again.

Inspired? Create and share by tagging @hallmarkstores.
You’ll start with your foam wreath form, and yarn. Start on what will become the back side of your wreath and add a strip of double-sided tape. Tie the tail of your yarn around the wreath tightly. This will keep it from sliding around while you wrap your wreath.
Continue to wrap your yarn around and around the wreath form, making sure to leave no foam showing. Tip: You can use more than one color of yarn to make stripes around your wreath. Wrap evenly around the entire wreath form. When you get to the end, tie it off with another snug knot.
Add your felt flowers, as many as you’d like, in whatever configuration you choose. The instructions for each type of flower are included below and in the printable flower template.
An optional bunny template is also included. To make the bunny, print and cut out the template, place on fabric folded right sides together, and cut out the 2 fabric pieces. Sew fabric pieces together using a standard ¼-inch inseam. Allow a space along the bottom for turning and stuffing. Clip curves, especially around ears for easier turning. Turn right side out. Stuff bunny and hand stitch opening closed. Attach the bunny with a line of hot glue along bottom of wreath, behind flowers.
Print provided templates and use scissors to cut felt pieces to size around the border. Tip: For bigger flowers, just make length longer, and then when you roll up the flower, it will get larger.
Fold in half (where the dotted line as shown) and run a bead of hot glue down the long side and press together.
Run another bead of hot glue along the bottom edge and roll flower closed.
Print provided templates and use scissors to cut felt pieces to size. Tip: The sharper the scissors, the easier it will be to cut through felt.

Drop a bead of hot glue at the fold line of each petal and fold petal in half, pressing together to give the petals their shape.
Start with the large petals and glue down evenly around the edge of the backer piece. Then layer the medium petals down. Finish by adding the layer of the small petals.
Print provided template and use scissors to cut felt pieces to size around the border. Two sizes are provided so you can add variety to your project. For fuller roses, cut out additional petals using the section of the templates indicated with a dotted line.
Start at the center and run small drops of hot glue around the straight edge, roll tightly and hold for a few seconds while the glue dries.
Print the provided templates, then use scissors to cut out leaf shapes from your felt. Use the leaves around your flowers to fill in areas and add a special touch. Tip: Use pinking shears for a fun look.
Cut strips of your favorite fabrics 1 inch wide and 8 inch long. Tip: Pattern fabrics or stripes are fun for this, because they look totally diff erent after being twisted.
Start at one end and begin twisting your fabric strip. Tip: Try to tuck in the raw edges as you go for a more finished look. Every inch or so drop a bead of hot glue to hold your twist together. Continue to twist your fabric and glue down to the edge of the previously glued part. A circle will begin to form. Tip: The bigger you want your rosette, the longer the piece of fabric you can use.
When you get to the end, take the last tail of fabric and tuck around the back. Glue end down to the ‘wrong’ side of your rosette.
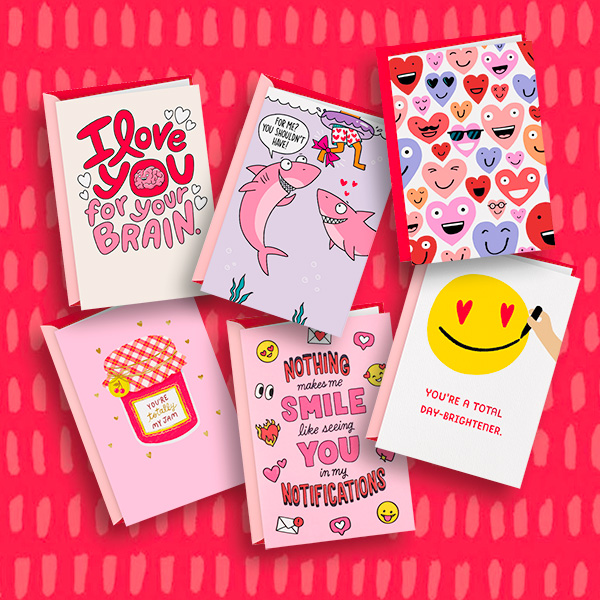
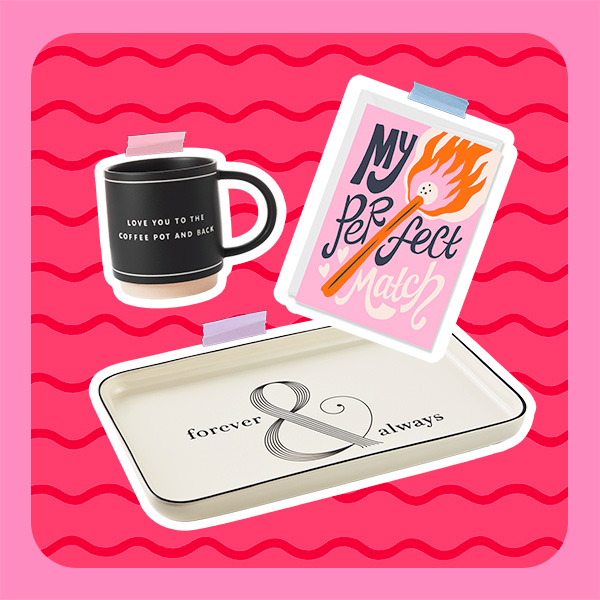
At Hallmark we have Valentine’s Day cards for everyone you love to laugh with: your significant other, your friends, ...

I don’t know a person on this earth who doesn’t love a good semi-annual sale. In fact, I know several people who keep...

Nothing lights up a little one's face like letting them know just how much they're loved. Okay...except for when they...
Who’s ready for Valentine’s Day?! 🥰 We absolutely love this holiday and can’t think of a more perfect time to shower ...

Color us excited! From the wearin’ of the green and more sunny fun to colorful Holi festivals and celebrating crayons...
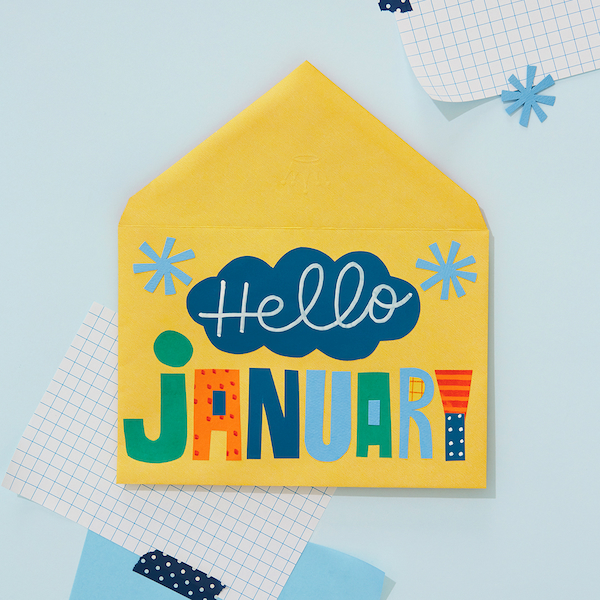
HAPPY NEW YEAR! If that hurt your head, you might have celebrated a little too much. When you’re feeling better, we h...
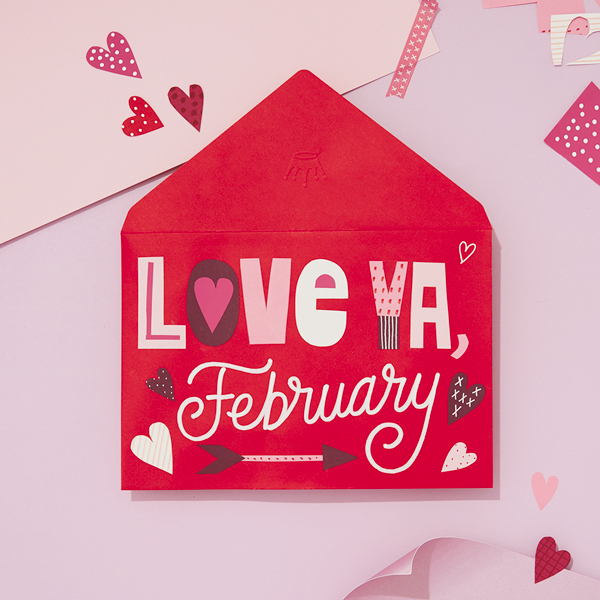
Let’s warm up this cold month with love and connections. From valentine cards to dressing up your pet, this month has...

If you’re anything like me, the holiday season can make you tap into different sides of yourself. Maybe you become th...

It was a dark and stormy night in the winter of 2015. I was 17 years old, overwhelmed with AP classes, senior-year st...

From decorating the house to baking cookies, the Christmas season gives us so many opportunities to get creative and ...

Got a bestie who's as silly as you? Or one who's there through all of life's storms with a smile? Then we think this ...

Thankfully, with so many beloved Disney Pixar character Keepsake Ornaments, you won't have to choose a favorite this ...

If you're a Millennial, we predict you will be majorly, totally, butt crazy in love with this Clueless Keepsake Ornam...
When I think of my perfect Christmas, vintage vibes are always what come to mind first. Santa’s sleigh in a dreamy wi...

Ever wanted to step inside of a picture-perfect Hallmark Christmas movie? Or travel to a place where you could immers...

A campfire might seem like the least likely place to find a few snowmen hanging out, but if it's cold enough, even th...

Every Keepsake Ornament is magical, but our ornaments with light, sound and music are in a class all their own. From ...
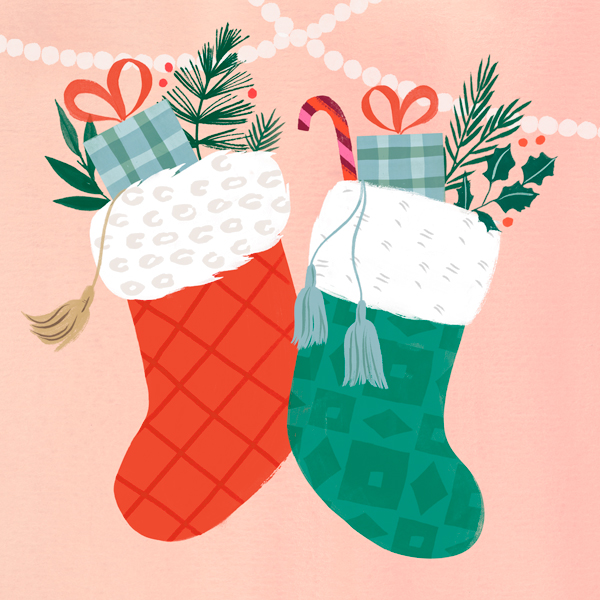
The stocking stuffer struggle is real. By the time you’ve bought your main presents, you feel like you’re all out of ...

Collecting Keepsake Ornaments isn't just a hobby for you—it's a passion! And that kind of enthusiasm is something we ...
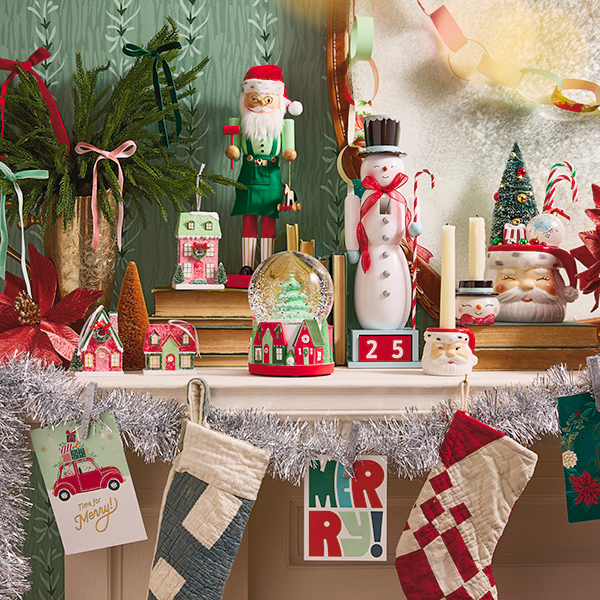
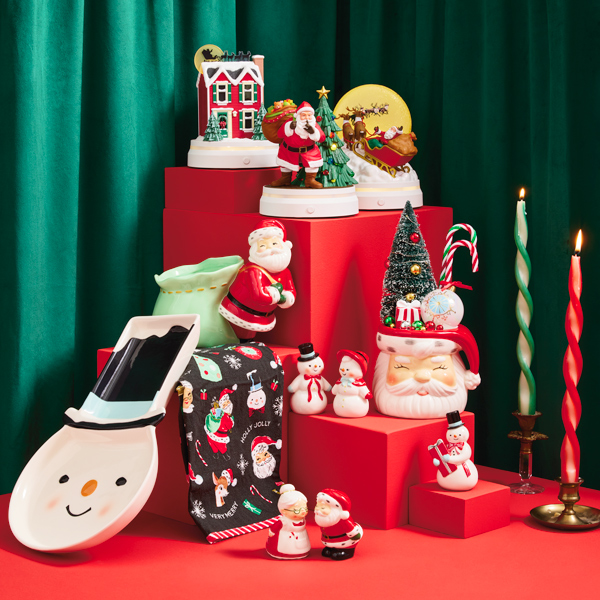
If you’re searching for Christmas decorating ideas to make all your spaces extra jolly and put you in a merry mood, y...