
We're sorry
There was an error adding this product to your cart. Please close this window and try again.

Inspired? Create and share by tagging @Hallmark.
Print the templates onto card stock and cut out the flowers, flower centers, leaves and stems. Repeat until you have as many as you need.

Paint the fronts of the flowers and flower centers in whatever colors you want. Let dry. Then flip the flowers over to paint the backs (No need to paint the backs of the flower centers). Let dry. Repeat painting process for the stems and leaves, using shades of green.
Once all the pieces are dry, you can begin assembling. Glue the flower centers to the middle of the flowers. Choose which flowers you want to layer together and glue them together at their centers, leaving the petals free to bend and shape separately. Let dry.
For the leaves: Write a cheery message on a leaf (optional). Then make a small angled cut where indicated on the leaf and lightly crease down the center, following the curve of the leaf. Repeat for all the leaves.
For the stems: Starting at the bottom, fold each stem in half a few inches at a time, up the length of the stem, following its curve, until you get to the top circle. Fold the top circle down to give the flower a base to attach to.
Glue the back centers of each flower to the circle base of a stem. Let dry. Then slip a leaf up the stem from the base. The angled cut on your leaf should slide easily up the stem and stay in place once you’ve got the height you want for the leaf. Add a dab of glue if it doesn’t stay in place. Let dry.
Add the finished flowers to your vase. Bend and shape some of the flower petals to give them a natural look.
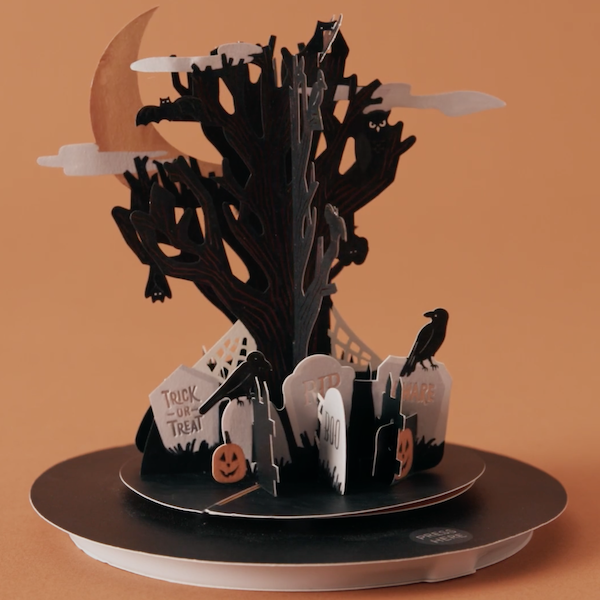
This Halloween, take friends or family for a spin through a creepy graveyard with this 3D pop-up card. With music and...
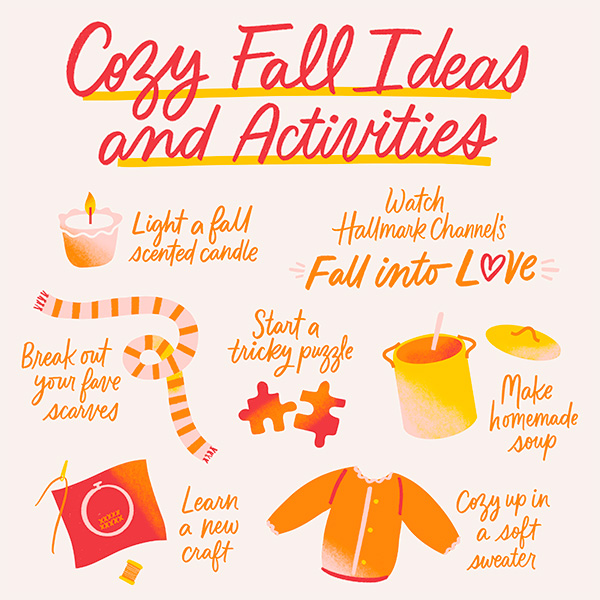
When fall comes around—bringing chillier days and earlier nights—the instinct to nest and rest kicks in hard and lots...
As kids, my cousin and I stayed looking for a quick scare. We could be found standing in a dark bathroom reciting the...
Gummy eyeballs floating in a glass bowl filled with bright green punch. That is my very first memory of Halloween and...
Light? Check. Sound? Check. Video? Check! It all adds up to an amazing portrayal of the most memorable game of holoch...
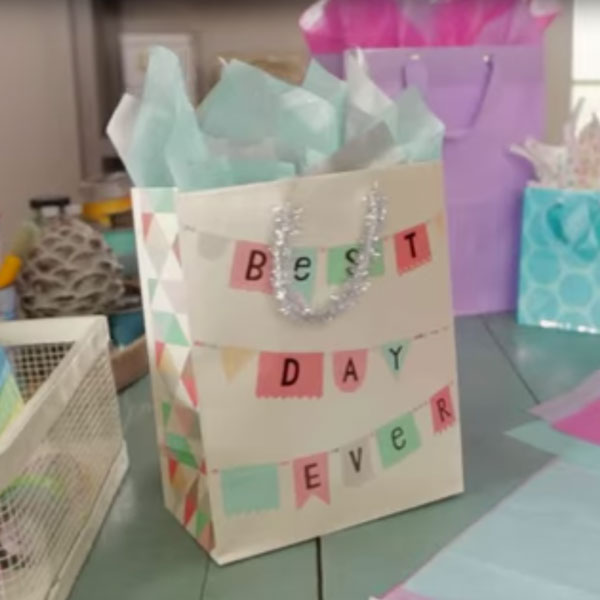
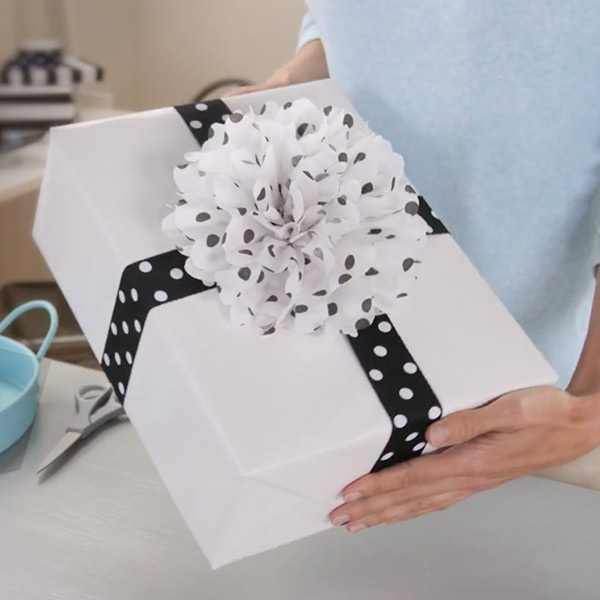
Gift bag + tissue paper = a quick gift-wrap solution. Sure, it’s easy enough, but there are a couple of tricks to ...
Who doesn’t like to get flowers? A tissue paper flower can brighten any gift. All you need is five pieces of tissu...
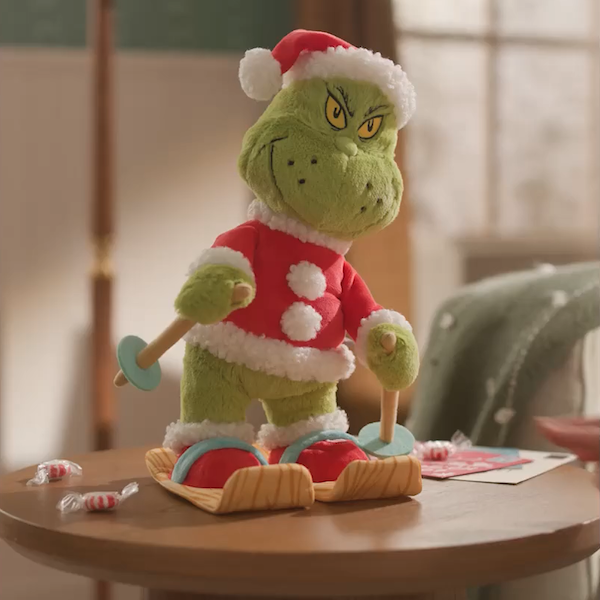
Look who's skiing into town in time for the holidays! It's our favorite Christmas curmudgeon, Dr. Seuss's The Grinch....
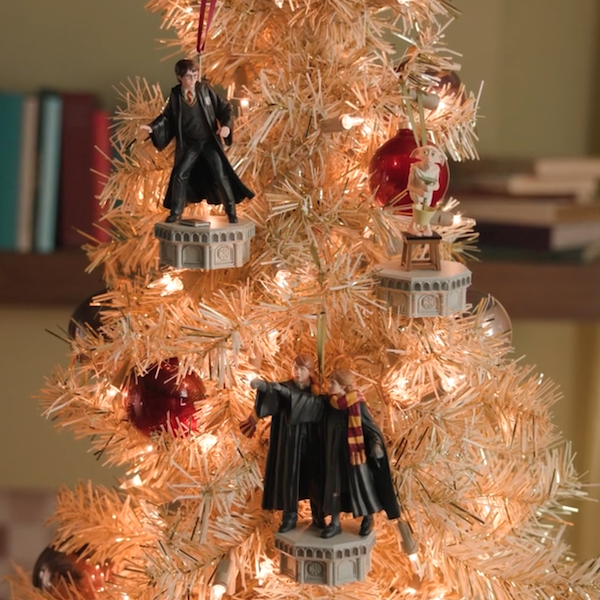
No need for the Lumos charm here—this set of 10 sculpted lights on a string are all you need to illuminate your tree ...
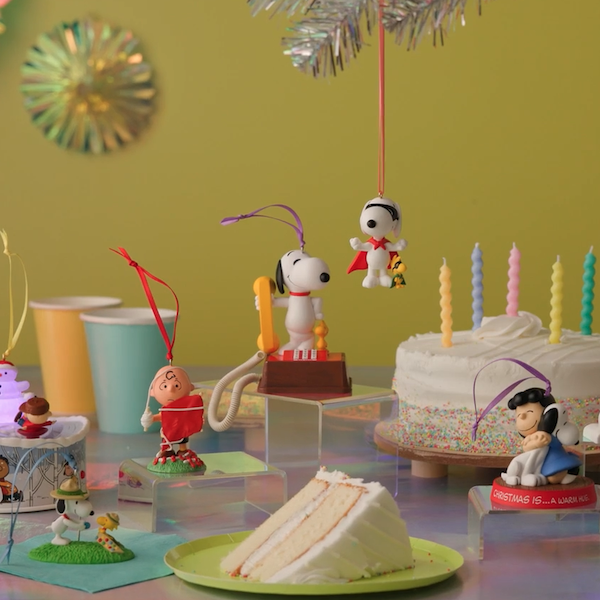
Fun fact: a 75th anniversary is a diamond anniversary! And we're excited to show Peanuts Snoopy and his pals just how...

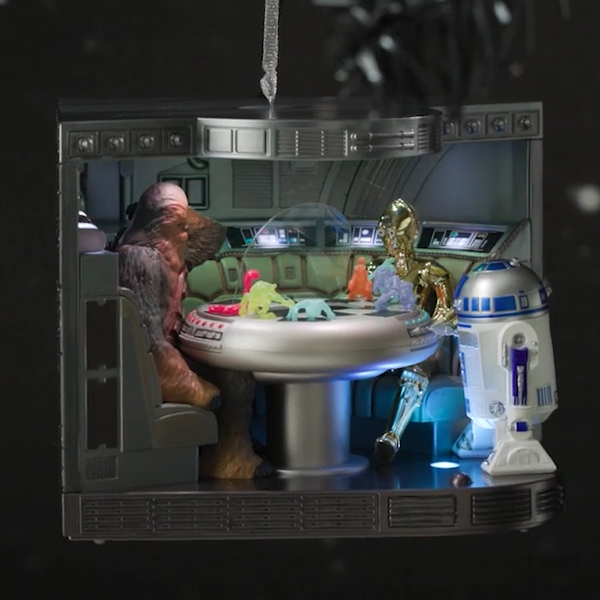
See how a beloved Keepsake Ornament from retired Hallmark Artist Ken Crow has been turned into a magical tabletop dec...
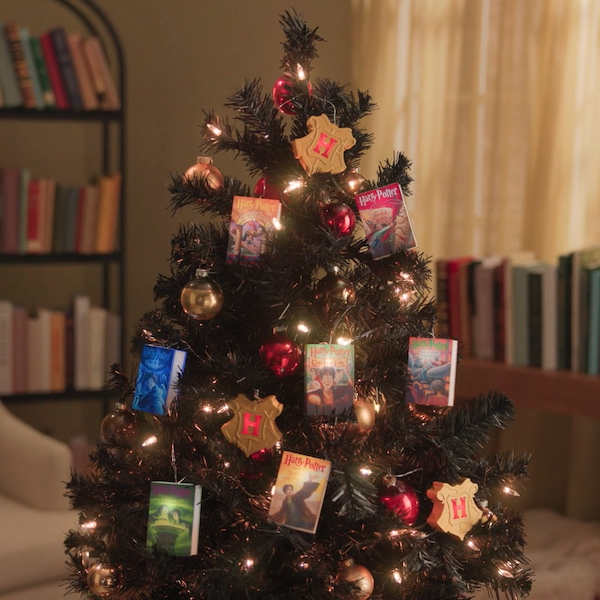
Relive the mystery and adventure that fills Harry Potter's second year at Hogwarts School of Witchcraft and Wizardry ...
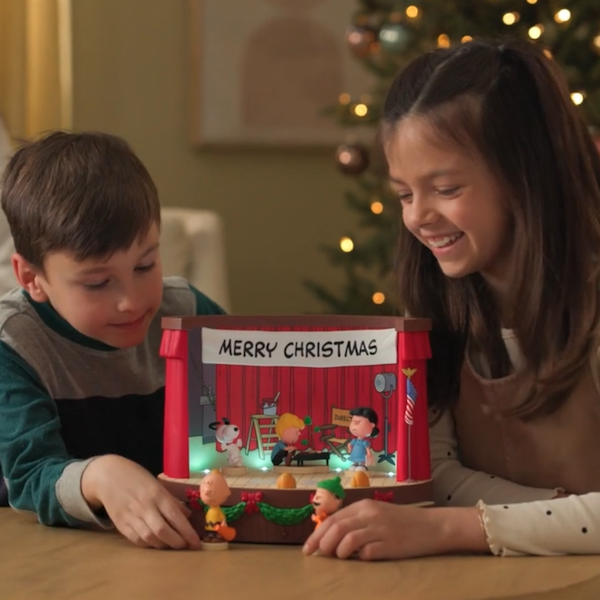
Featuring the iconic stage where Charlie Brown and his friends put on their Christmas pageant in "A Charlie Brown Chr...
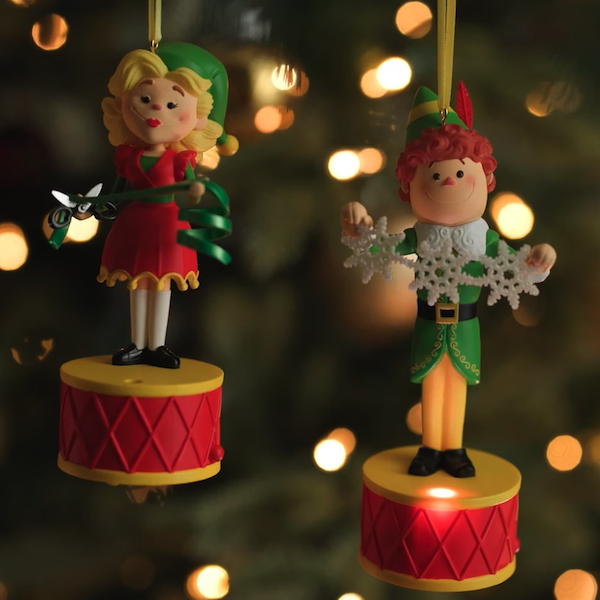
This adorable duo feature light and dialogue from favorite scenes from the movie "Elf." Of course, each ornament is a...
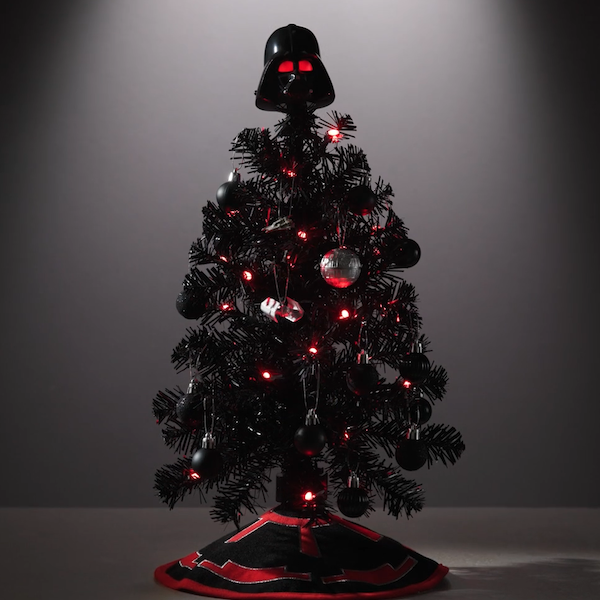
Little tree...BIG impact. Especially with this Mini Star Wars™ Darth Vader™ ShowToppers Musical Tree Topper. Just con...
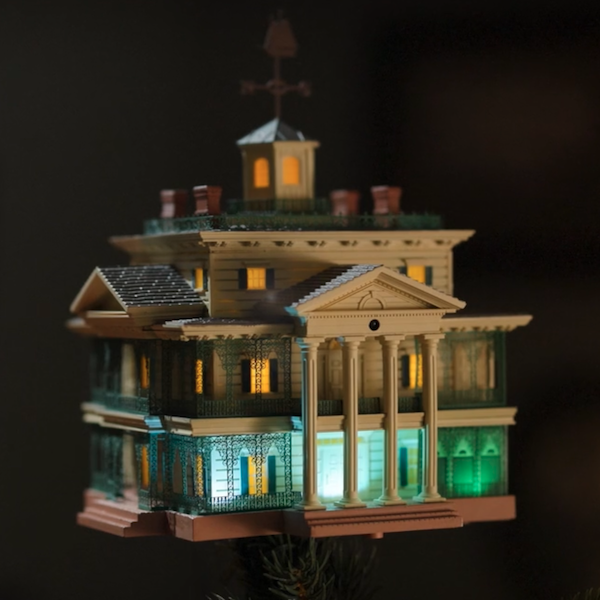
Relive the fun and memories of a childhood trip to Disney Parks with the Haunted Mansion Keepsake Ornament collection...
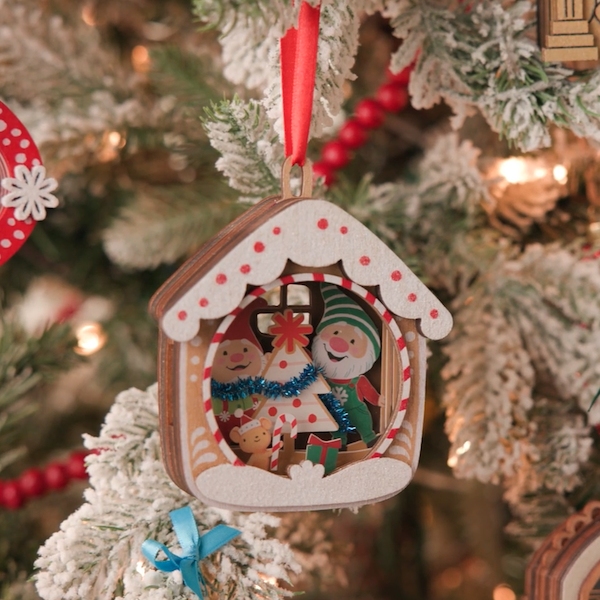
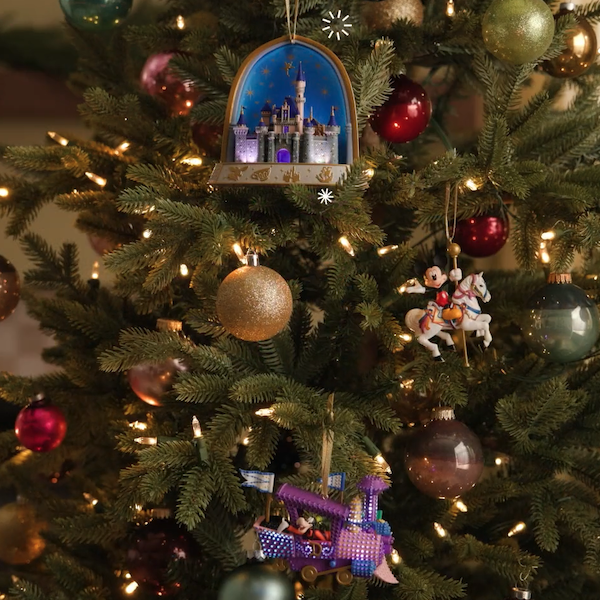
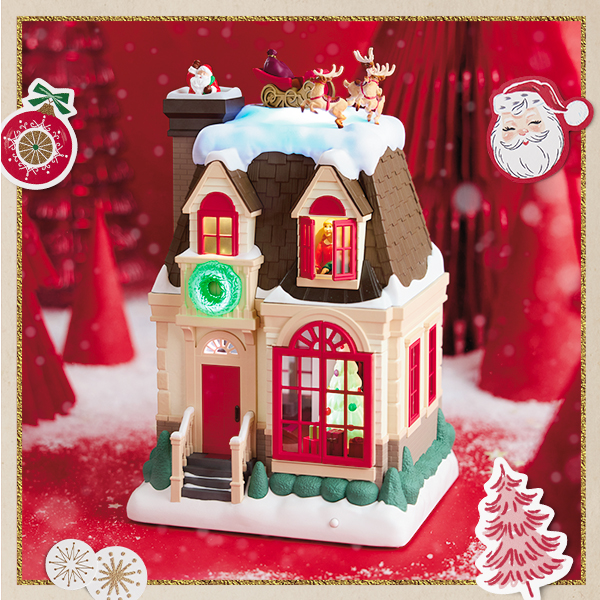
With more than 250 new Keepsake Ornament releases, you won't want to miss the start of Keepsake Ornament Premiere on ...
Watch as Keepsake Artist Charles Young explains how Hallmark's decades-long artistry in the world of papercraft has i...
That feeling of seeing
Holiday lovers, we see you! While other people are drenched in summer sweat, we know you’re dreaming of a white Chris...